机器学习笔记1-k近邻算法的实现,跳槽薪资翻倍-程序员宅基地
distance = sqDistances**0.5
#将距离数组的下标按照距离大小排序
sortedDistIndicies = distance.argsort()
classCount = {}
#在k的范围内,分别计算两类的数目
for i in range(k):
voteIlabel = labels[sortedDistIndicies[i]]
classCount[voteIlabel] = classCount.get(voteIlabel,0)+1
#以k以内类别数目排序
sortedClassCount = sorted(classCount.items(),key=operator.itemgetter(1),
reverse = True)
#返回数目最多的类(即输入向量应该属于的类)
return sortedClassCount[0][0]
def test():
print(classify0([0.3,0.5],group,labels,2))
if __name__ == ‘__main__’:
group = numpy.array([[1.0,1.1],[1.0,1.0],[0,0],[0,0.1]])
labels = [‘A’,‘A’,‘B’,‘B’]
test()
其中几个不熟悉的函数:
shape:读取矩阵的长度,比如shape[0]:就是读取矩阵的一维长度
tile:形如tile(x,y)就是重复x,y次,例如;
>>> numpy.tile([1,1],10)
array([1, 1, 1, 1, 1, 1, 1, 1, 1, 1, 1, 1, 1, 1, 1, 1, 1, 1, 1, 1])
>>> numpy.tile([2,1],[2,3])
array([[2, 1, 2, 1, 2, 1],
[2, 1, 2, 1, 2, 1]])
sum(axis=1):在某一维度上相加:
>>> a = numpy.array([1,2])
>>> a.sum()
3
>>> a.sum(axis=1)
Traceback (most recent call last):
File “<pyshell#27>”, line 1, in
a.sum(axis=1)
File “F:\python3\lib\site-packages\numpy\core\_methods.py”, line 32, in _sum
return umr_sum(a, axis, dtype, out, keepdims)
ValueError: ‘axis’ entry is out of bounds
>>> numpy.array([[1,2,4],[2,4,5]]).sum(axis=1)
array([ 7, 11])
argsort():将数组的值的下标按值的由大到小的顺序排序
>>> a = numpy.array([8,6,7,9,10,5,7])
>>> a.argsort()
array([5, 1, 2, 6, 0, 3, 4], dtype=int32)
items():字典的值以列表的形式返回
itemgetter():用于返回对象那些维的数据
sorted():函数sorted(iterable[, cmp[, key[, reverse]]]),用于给列表排序,返回一个新的列表
iterable – 可迭代对象。
cmp – 比较的函数,这个具有两个参数,参数的值都是从可迭代对象中取出,此函数必须遵守的规则为,大于则返回1,小于则返回-1,等于则返回0。
key – 主要是用来进行比较的元素,只有一个参数,具体的函数的参数就是取自于可迭代对象中,指定可迭代对象中的一个元素来进行排序。
reverse – 排序规则,reverse = True 降序 , reverse = False 升序(默认)。
实例,根据玩视频游戏所耗时间百分比,每年获得的飞行常客里程数,每周的冰淇淋公升数来判断魅力值
1.解析数据,书中给出的数据存在一个问题,就是标签向量为一个字符串,需要将其转化成整形形式
def getValueOfClassLabel(ClassLabel):
val = 1;
if not ClassLabel in ValueOfClassLabel.keys():
ValueOfClassLabel[ClassLabel] = Value.pop()
return ValueOfClassLabel[ClassLabel]
解析文件的完整代码:
def file2matrix(filename):
‘’’
用于解析训练集文件
‘’’
ValueOfClassLabel = {}
Value = [1,2,3]
def getValueOfClassLabel(ClassLabel):
val = 1;
if not ClassLabel in ValueOfClassLabel.keys():
ValueOfClassLabel[ClassLabel] = Value.pop()
return ValueOfClassLabel[ClassLabel]
file = open(filename)
arrayOLines = file.readlines()
#文件的行数
numberOfLines = len(arrayOLines)
#返回创建的训练集
returnMat = numpy.zeros((numberOfLines,3))
classLabelVector = []
index = 0
for line in arrayOLines:
line = line.strip()
listFormLine = line.split(‘\t’)
returnMat[index,:] = listFormLine[0:3]
classLabelVector.append(getValueOfClassLabel(str(listFormLine[-1])))
index +=1
return returnMat,classLabelVector
通过上述程序可以将文件内容格式化成我们需要的训练集,标签向量,通过画图来直观的判断他们之间的关系
import numpy
import kNN
import matplotlib
import matplotlib.pyplot as plt
fig = plt.figure()
ax = fig.add_subplot(111)
datingDataMat,datingLabels = kNN.file2matrix(‘f:\\datingTestSet.txt’)
ax.scatter(datingDataMat[:,1],datingDataMat[:,2],
15.0*numpy.array(datingLabels),15.0*numpy.array(datingLabels))
plt.xlabel(‘Percentage of Time Spent Playing Video Games’)
plt.ylabel(‘Liters of Ice Cream Consumed Per Week’)
plt.show()
3D图:
import numpy
import kNN
import matplotlib
import matplotlib.pyplot as plt
from mpl_toolkits.mplot3d import Axes3D
fig = plt.figure()
ax = fig.add_subplot(111,projection=‘3d’)
datingDataMat,datingLabels = kNN.file2matrix(‘f:\\datingTestSet.txt’)
ax.scatter(datingDataMat[:,0],datingDataMat[:,1],datingDataMat[:,2],
15.0*numpy.array(datingLabels),15.0*numpy.array(datingLabels),15.0*numpy.array(datingLabels))
ax.set_xlabel(‘mei nian huo qu de fei xing chang ke li cheng shu’)
ax.set_ylabel(‘wan you xi shi jian bi li’)
ax.set_zlabel(‘mei zhou xiao hao de bing qi li shuliang’)
plt.show()
多图:
import numpy
import kNN
import matplotlib
import matplotlib.pyplot as plt
fig = plt.figure()
ax1 = fig.add_subplot(311)
datingDataMat,datingLabels = kNN.file2matrix(‘f:\\datingTestSet.txt’)
ax1.scatter(datingDataMat[:,0],datingDataMat[:,1],
15.0*numpy.array(datingLabels),15.0*numpy.array(datingLabels))
ax1.set_xlabel(‘fly’)
ax2 = fig.add_subplot(312)
ax2.scatter(datingDataMat[:,0],datingDataMat[:,2],
15.0*numpy.array(datingLabels),15.0*numpy.array(datingLabels))
ax2 = fig.add_subplot(313)
ax2.scatter(datingDataMat[:,1],datingDataMat[:,2],
15.0*numpy.array(datingLabels),15.0*numpy.array(datingLabels))
plt.show()
不熟悉的函数:
add_subplot:用于指定图像的位置,例如111,指图像分成一行一列,在第一幅图上画
scatter:画散点图,必须输入的有x,y坐标,可选项有颜色形状等
zero:创建0矩阵
归一化:
处理不同取值范围的特征值时,通常需要将数值未硬化,如果将取值范围处理为0到1或者-1到1之间,下面公式可以将任意取值范围的特征值转化为0到1的区间内
newValue = (oldValue-min)/(max-min)
min,max分别是数据集中特征值最大值和最小值,程序如下
def autoNum(dataSet):
#获取每一列的最小值
minVals = dataSet.min(0)
#获取每一列的最大值
maxVals = dataSet.max(0)
#最大值和最小值的差
ranges = maxVals - minVals
#将每一行归一化
normDataSet = numpy.zeros(numpy.shape(dataSet))
m = dataSet.shape[0]
normDataSet = dataSet - numpy.tile(minVals,(m,1))
normDataSet = normDataSet/numpy.tile(ranges,(m,1))
return normDataSet,ranges,minVals
容易搞错的是min(0)返回的是每一列的最小值,而不是第0列的最小值,min()返回的是所有值的最小值,min(1)返回的是每一行的最小值
测试程序:
def datingClassTest():
‘’’
用于测试分类器
‘’’
hoRatio = 0.10
datingDataMating,datingLabels = file2matrix(‘f:\\datingTestSet.txt’)
normMat,ranges,minVals = autoNum(datingDataMating)
m = normMat.shape[0]
numTestVecs = int(m*hoRatio)
errorCount = 0.0
for i in range(numTestVecs):
classifierResult = classify0(normMat[i,:],normMat[numTestVecs:m,:],
datingLabels[numTestVecs:m],3)
print(‘the classifier came back with: %d,the real answer is:%d’%
(classifierResult,datingLabels[i]))
if(classifierResult != datingLabels[i]):errorCount += 1.0
print(‘the total error rate is:%f’%(errorCount/float(numTestVecs)))
测试结果:
the classifier came back with: 3,the real answer is:3
the classifier came back with: 2,the real answer is:2
the classifier came back with: 1,the real answer is:1
the classifier came back with: 1,the real answer is:1
the classifier came back with: 1,the real answer is:1
the classifier came back with: 1,the real answer is:1
the classifier came back with: 3,the real answer is:3
the classifier came back with: 3,the real answer is:3
the classifier came back with: 1,the real answer is:1
the classifier came back with: 3,the real answer is:3
the classifier came back with: 1,the real answer is:1
the classifier came back with: 1,the real answer is:1
the classifier came back with: 2,the real answer is:2
the classifier came back with: 1,the real answer is:1
the classifier came back with: 1,the real answer is:1
the classifier came back with: 1,the real answer is:1
the classifier came back with: 1,the real answer is:1
the classifier came back with: 1,the real answer is:1
the classifier came back with: 2,the real answer is:2
the classifier came back with: 3,the real answer is:3
the classifier came back with: 2,the real answer is:2
the classifier came back with: 1,the real answer is:1
the classifier came back with: 3,the real answer is:2
the classifier came back with: 3,the real answer is:3
the classifier came back with: 2,the real answer is:2
the classifier came back with: 3,the real answer is:3
the classifier came back with: 2,the real answer is:2
the classifier came back with: 3,the real answer is:3
the classifier came back with: 2,the real answer is:2
the classifier came back with: 1,the real answer is:1
最后
Python崛起并且风靡,因为优点多、应用领域广、被大牛们认可。学习 Python 门槛很低,但它的晋级路线很多,通过它你能进入机器学习、数据挖掘、大数据,CS等更加高级的领域。Python可以做网络应用,可以做科学计算,数据分析,可以做网络爬虫,可以做机器学习、自然语言处理、可以写游戏、可以做桌面应用…Python可以做的很多,你需要学好基础,再选择明确的方向。这里给大家分享一份全套的 Python 学习资料,给那些想学习 Python 的小伙伴们一点帮助!
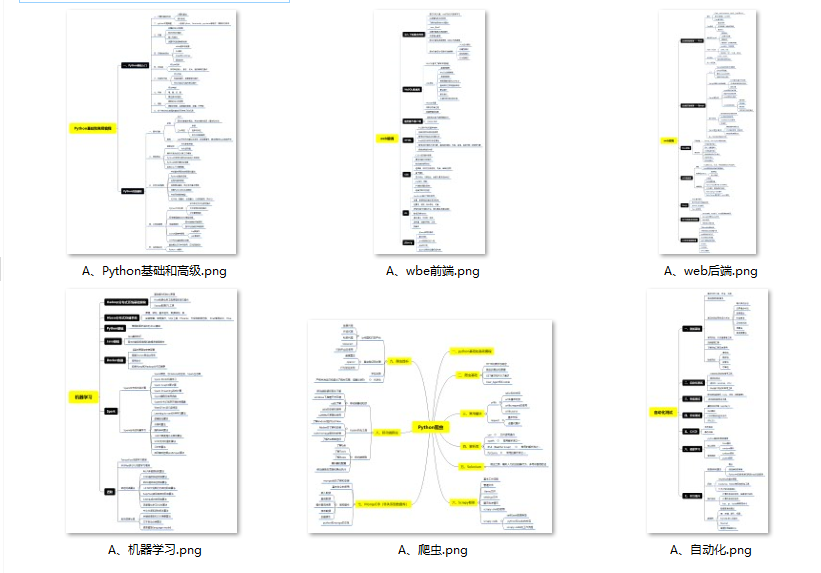
Python所有方向的学习路线
Python所有方向的技术点做的整理,形成各个领域的知识点汇总,它的用处就在于,你可以按照上面的知识点去找对应的学习资源,保证自己学得较为全面。
Python必备开发工具
工欲善其事必先利其器。学习Python常用的开发软件都在这里了,给大家节省了很多时间。
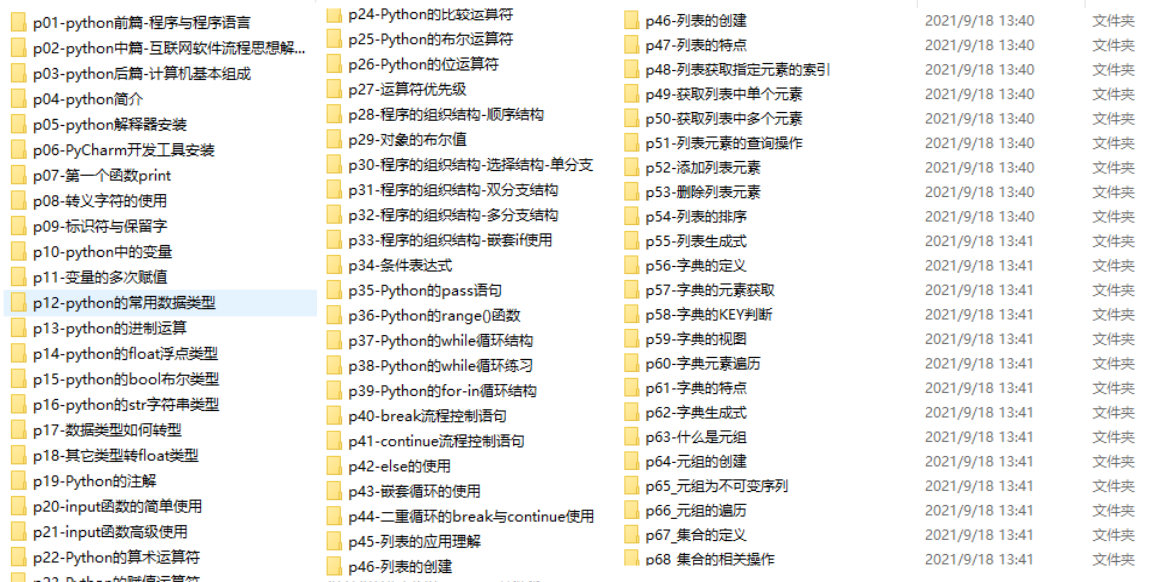
Python全套学习视频
我们在看视频学习的时候,不能光动眼动脑不动手,比较科学的学习方法是在理解之后运用它们,这时候练手项目就很适合了。
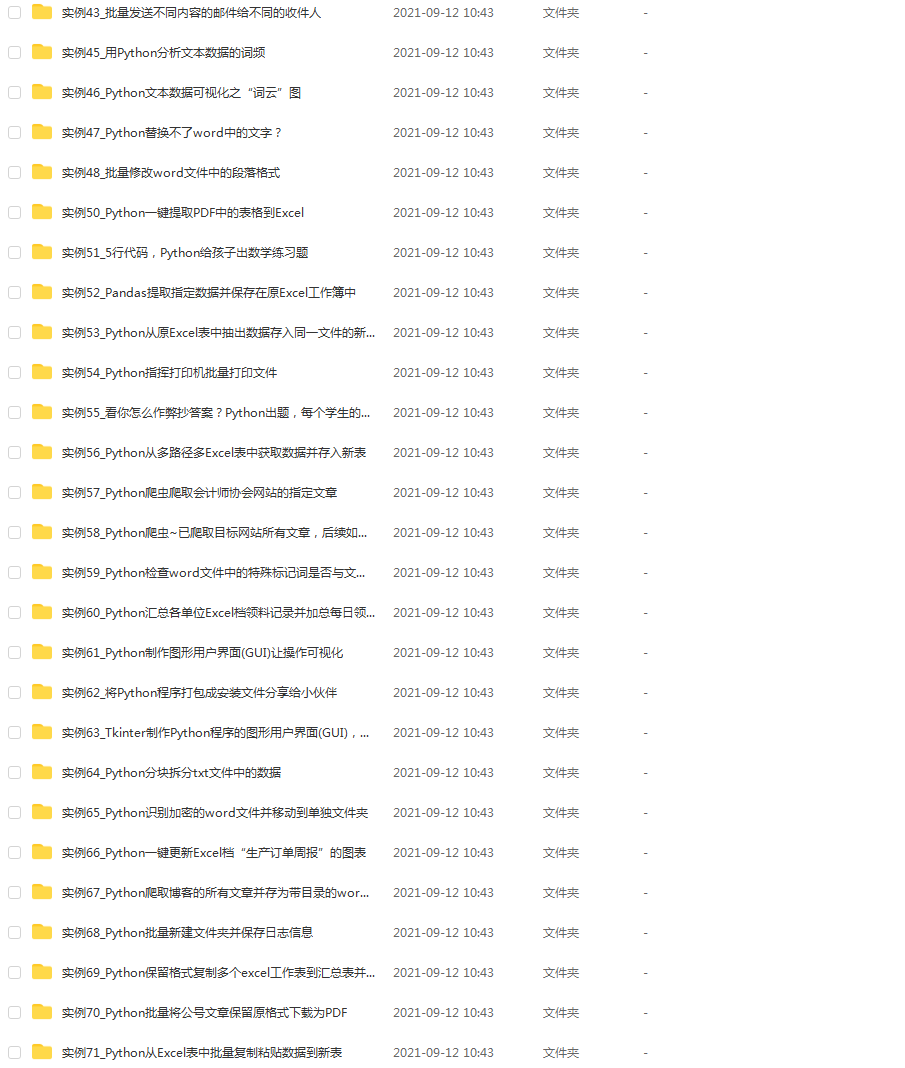
实战案例
学python就与学数学一样,是不能只看书不做题的,直接看步骤和答案会让人误以为自己全都掌握了,但是碰到生题的时候还是会一筹莫展。
因此在学习python的过程中一定要记得多动手写代码,教程只需要看一两遍即可。
大厂面试真题
我们学习Python必然是为了找到高薪的工作,下面这些面试题是来自阿里、腾讯、字节等一线互联网大厂最新的面试资料,并且有阿里大佬给出了权威的解答,刷完这一套面试资料相信大家都能找到满意的工作。
小编13年上海交大毕业,曾经在小公司待过,也去过华为、OPPO等大厂,18年进入阿里一直到现在。
深知大多数初中级Python工程师,想要提升技能,往往是自己摸索成长或者是报班学习,但自己不成体系的自学效果低效又漫长,而且极易碰到天花板技术停滞不前!
因此收集整理了一份《2024年Python爬虫全套学习资料》送给大家,初衷也很简单,就是希望能够帮助到想自学提升又不知道该从何学起的朋友,同时减轻大家的负担。
由于文件比较大,这里只是将部分目录截图出来,每个节点里面都包含大厂面经、学习笔记、源码讲义、实战项目、讲解视频
如果你觉得这些内容对你有帮助,可以添加下面V无偿领取!(备注:python)

都能找到满意的工作。
小编13年上海交大毕业,曾经在小公司待过,也去过华为、OPPO等大厂,18年进入阿里一直到现在。
深知大多数初中级Python工程师,想要提升技能,往往是自己摸索成长或者是报班学习,但自己不成体系的自学效果低效又漫长,而且极易碰到天花板技术停滞不前!
因此收集整理了一份《2024年Python爬虫全套学习资料》送给大家,初衷也很简单,就是希望能够帮助到想自学提升又不知道该从何学起的朋友,同时减轻大家的负担。
由于文件比较大,这里只是将部分目录截图出来,每个节点里面都包含大厂面经、学习笔记、源码讲义、实战项目、讲解视频
如果你觉得这些内容对你有帮助,可以添加下面V无偿领取!(备注:python)
[外链图片转存中…(img-lBNTqRKK-1710943429059)]
智能推荐
Python 入门的60个基础练习_练习python基础语法-程序员宅基地
文章浏览阅读4.2w次,点赞329次,收藏2.7k次。Python 入门的60个基础练习_练习python基础语法
iOS6和iOS7代码的适配(2)——status bar_ios7 statusbar-程序员宅基地
文章浏览阅读1w次。用Xcode5运行一下应用,第一个看到的就是status bar的变化。在iOS6中,status bar是系统在处理,应用_ios7 statusbar
gdb调试时No symbol "var" defined in current context && No Register_no registers调试显示-程序员宅基地
文章浏览阅读2.1k次。问题描述:,在gdb调试程序输出变量:p var,会提示No symbol "var" in current context.原因:程序编译时开启了优化选项,那么在用GDB调试被优化过的程序时,可能会发生某些变量不能访问,或是取值错误码的情况。这个是很正常的,因为优化程序会删改程序,整理程序的语句顺序,剔除一些无意义的变量等,所以在GDB调试这种程序时,运行时的指令和你所编写指_no registers调试显示
IDGeneratorUtil 主键id生成工具类_idgeneratorutils.generateid()-程序员宅基地
文章浏览阅读3.4k次。import java.util.Random;import org.drools.util.UUIDGenerator;/** * * * 类名称:GenerateIdUtil * 类描述: 主键生成工具类 * @author chenly * 创建时间:Jul 10, 2012 8:10:43 AM * 修改人: * 修改时间:Jul 10, 2012 8..._idgeneratorutils.generateid()
关于汇编 BX 和 BLX 跳转指令_汇编blx-程序员宅基地
文章浏览阅读5k次。BX:跳转到寄存器reg给出的目的地址处,如:BX R2BLX:跳转到寄存区reg给出的目的地址处并将返回地址存储到LR(R14)使用这两个指令时有一点特别需要注意:跳转的目的地址必须是奇数,若不是奇数则在后面加1,如某函数的起始地址是0x80000f00,则要跳转到此函数则应该跳转到0x80000f01处!否则会进入硬件错误中断!..._汇编blx
前端vue,打包整合进后端springboot的resources里面后,运行只要刷新就报404_前端项目放入resource-程序员宅基地
文章浏览阅读2.6k次,点赞2次,收藏4次。vue打包后,其实就剩index.html和一堆静态资源,页面的加载和替换都是通过刷新index.html种的dom来实现的(应该是这样,可能表述不是很好),所以做个重定向就可以了。(博主是这么解决的,网上还有很多人是各种路径错误,大家可以尝试下自己是哪个原因)import org.springframework.boot.web.server.ConfigurableWebServerFa..._前端项目放入resource
随便推点
添加远程github仓库时报错 Warning: Permanently added the RSA host key for IP address 52.74.223.119_cmd warning: permanently added-程序员宅基地
文章浏览阅读9.7k次。1.问题展示2.解决方案1.任意窗口, 打开git bash2.命令行界面, 输入cd C:3.cat ~/.ssh/id_rsa.pub正常下面应该显示一大串公钥如果没有,显示如下图, 则进行下一步, 创建公钥4.创建公钥, 输入 ssh-keygen5.然后一直下一步, 直到出现6.再次输入cat ~/.ssh/id_rsa.pub下面一大串数字便是公钥,复制这些字符串, 打开github, 点击头像, 打开settings, 打开SSH and GPG Keys_cmd warning: permanently added
SQL*Plus 使用技巧1-程序员宅基地
文章浏览阅读154次。[code="java"]1. SQL/Plus 常用命令 a. help [topic] 查看命令的使用方法,topic表示需要查看的命令名称。 如: help desc; b. host 该命令可以从SQL*Plus环境切换到操作系统环境,以便执行操作系统命名。 c. host [command] 在sql*plus环境中执行操作系统命令,如:host notepad.exe..._sql+plus的使用方法
域控服务器搭建与管理论文,校园网络服务器的配置与管理 毕业论文.doc-程序员宅基地
文章浏览阅读441次。该文档均来自互联网,如果侵犯了您的个人权益,请联系我们将立即删除!**学校毕 业 论 文**学校园网络服务器的配置与管理姓 名: **学 号: **指导老师:系 名:专 业: 计算机网络技术班 级:二0一一年十二月十五日摘 要随着网络技术的不断发展和Internet的日益普及,许多学校都建立了校园网络并投入使用,这无疑对加快信息处理,提高工作效..._服务器配置与应用论文
mysql单实例多库与多实例单库_数据库单实例和多实例-程序员宅基地
文章浏览阅读1k次。一、单实例多库:一个mysql实例,创建多个数据目录。规划:实例路径:/usr/local/mysql数据目录路径:(1)/usr/local/mysql/data(2)/usr/local/mysql/data2步骤:安装mysql。配置my.cnf文件。初始化各个数据库。用mysqld_multi启动。1、安装mysql。平常安装。2、m..._数据库单实例和多实例
MFC解决找不到MFC90.DLL的问题_microsoft v90.debugmfc-程序员宅基地
文章浏览阅读6.3k次。今天装了第三方的MFC软件库Xtreme ToolkitPro v15.0.1,听说搞MFC的人都知道它的强大,我刚学习,所以装了一个,然后想运行一下它自带的例子看看。出现一个“找不到mfc90.dll“的问题,百度一下,记录如下:vs2008已经打过sp1补丁,编译C++程序会提示找不到mfc90.dll文件的错误,但是如果是release版的话就能正常运行csdn看到解决方案,粘贴_microsoft v90.debugmfc
XeLaTeX-中文排版解决方案_latex 中文排版 texlive-程序员宅基地
文章浏览阅读2.1k次。以前使用CJK进行中文的排版,需要自己生成字体库,近日,出现了XeTeX,可以比较好的解决中文字体问题,不需要额外生成LaTeX字体库,直接使用计算机系统里的字体,本文以在Linux下为例说明XeTeX的使用。操作系统: UbuntuTeX:除了texlive包外,还需要安装的包是texlive-xetex。字体:可以使用fc-list查看你自己的字体库,注意字体的完整名称,在XeTe..._latex 中文排版 texlive