Flutter从0到1实现高性能、多功能的富文本编辑器(基础实战篇)_flutter 富文本-程序员宅基地
技术标签: 程序员 Android开发 flutter android ios Android
作者:编程的平行世界
链接:https://juejin.cn/post/7159338025602777125
前言
在上一章中,我们分析了一个富文本编辑器需要有哪些模块组成。在本文中,让我们从零开始,去实现自定义的富文本编辑器。
注:本文篇幅较长,从失败的方案开始分析再到成功实现自定义富文本编辑器,真正的从0到1。建议收藏!
— 完整代码太多, 文章只分析核心代码,需要源码请到 代码仓库
错误示范
遭一蹶者得一便,经一事者长一智。——宋·无名氏《五代汉史平话·汉史》
在刚开始实现富文本时,为了更快速的实现富文本的功能,我利用了TextField这个组件,但写着写着发现TextField有着很大的局限性。不过错误示范也给我带来了一些启发,那么现在就让我和大家一起去探索富文本编辑器的世界吧。
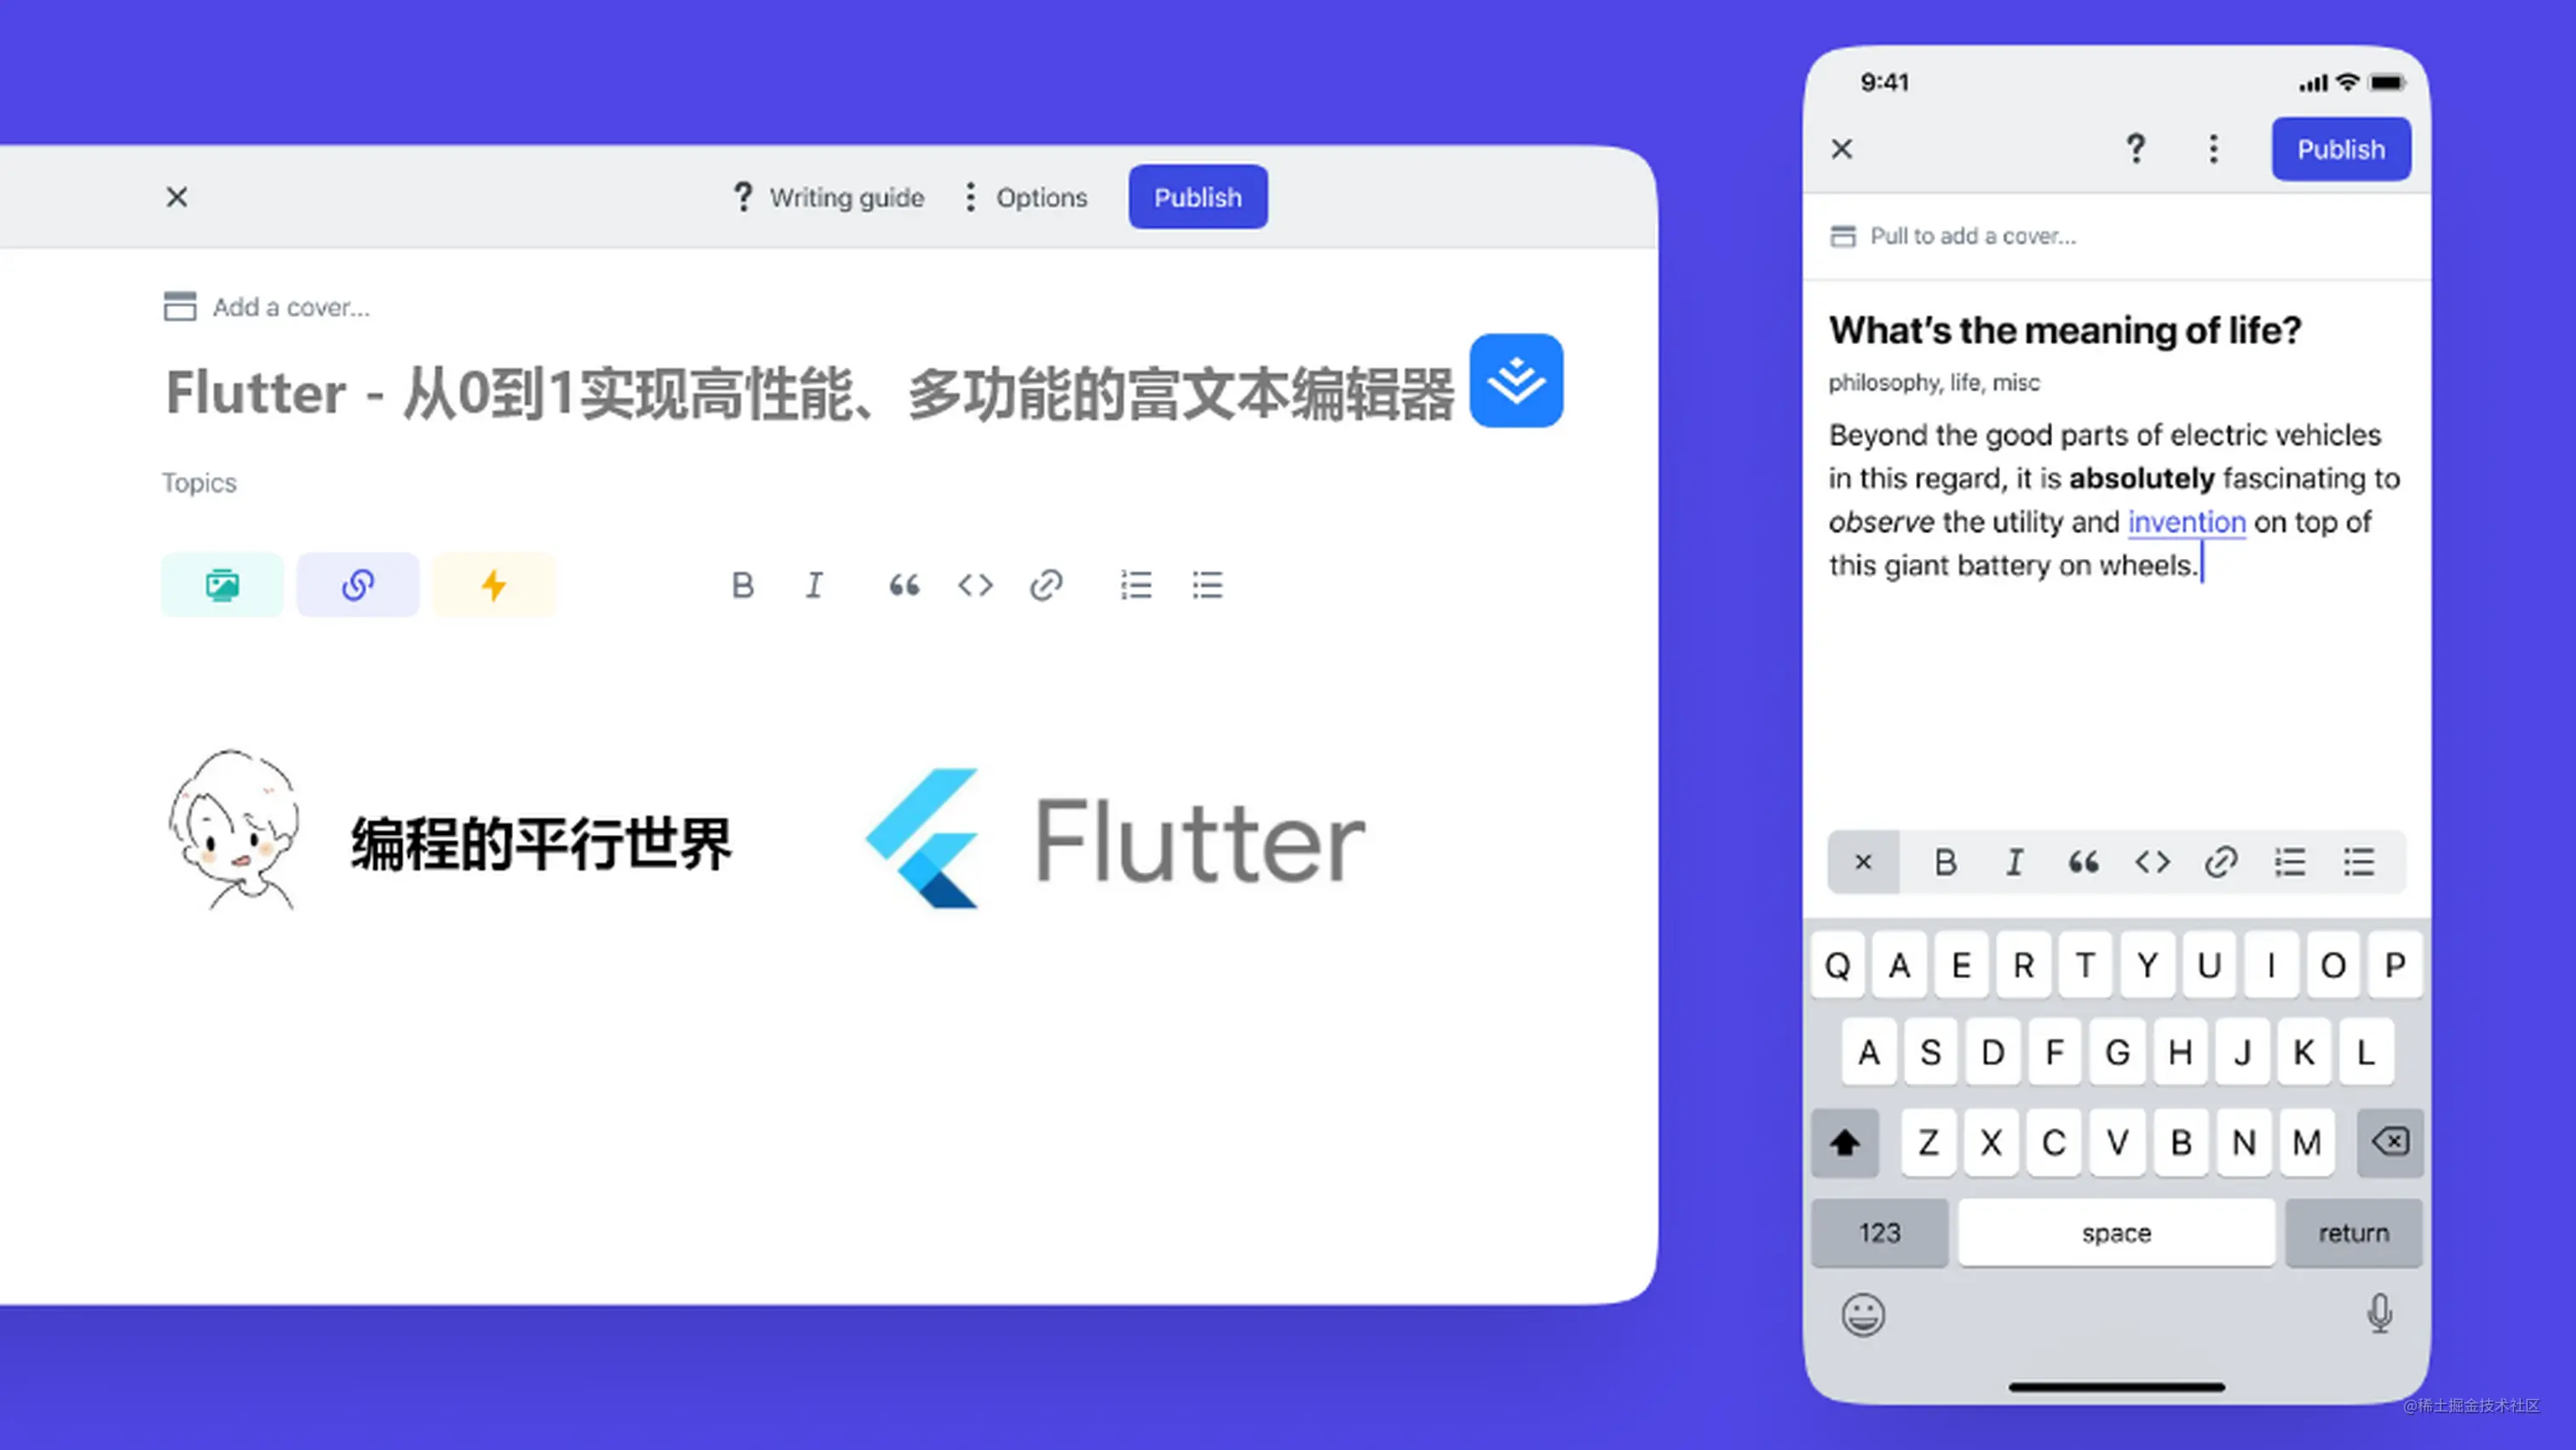
最后效果图:
定义文本格式
作为基础的富文本编辑器实现,我们需要专注于简单且重要的部分,所以目前只需定义标题、文本对齐、文本粗体、文本斜体、下划线、文本删除线、文本缩进符等富文本基础功能。
定义文本颜色:
class RichTextColor {
//定义默认颜色
static const defaultTextColor = Color(0xFF000000);
static const c_FF0000 = Color(0xFFFF0000);
...
///用户自定义颜色解析
///=== 如需方法分析,请参考https://juejin.cn/post/7154151529572728868#heading-11 ===
Color stringToColor(String s) {
if (s.startsWith('rgba')) {
s = s.substring(5);
s = s.substring(0, s.length - 1);
final arr = s.split(',').map((e) => e.trim()).toList();
return Color.fromRGBO(int.parse(arr[0]), int.parse(arr[1]),
int.parse(arr[2]), double.parse(arr[3]));
}
...
return const Color.fromRGBO(0, 0, 0, 0);
}
}
定义功能枚举类
enum RichTextInputType {
  header1,
  header2,
  ...
}
定义富文本样式
TextStyle richTextStyle(List<RichTextInputType> list, {Color? textColor}) {
//默认样式
double fontSize = 18.0;
FontWeight fontWeight = FontWeight.normal;
Color richTextColor = RichTextColor.defaultTextColor;
TextDecoration decoration = TextDecoration.none;
FontStyle fontStyle = FontStyle.normal;
//分析用户选中样式
for (RichTextInputType i in list) {
switch (i) {
case RichTextInputType.header1:
fontSize = 28.0;
fontWeight = FontWeight.w700;
break;
...
}
}
return TextStyle(
fontSize: fontSize,
fontWeight: fontWeight,
fontStyle: fontStyle,
color: richTextColor,
decoration: decoration,
);
}
定义不同样式文本间距
EdgeInsets richTextPadding(List<RichTextInputType> list) {
  //默认间距
  EdgeInsets edgeInsets = const EdgeInsets.symmetric(
    horizontal: 16.0,
    vertical: 4.0,
  );
  for (RichTextInputType i in list) {
    switch (i) {
      case RichTextInputType.header1:
        edgeInsets = const EdgeInsets.only(
          top: 24.0,
          right: 16.0,
          bottom: 8.0,
          left: 16.0,
        );
        break;
      ...
    }
  }
  return edgeInsets;
}
当为list type时,加上前置占位符
/// 效果->  ·Hello Taxze
String prefix(List<RichTextInputType> list) {
  for (RichTextInputType i in list) {
    switch (i) {
      case RichTextInputType.list:
        return '\u2022';
      default:
        return '';
    }
  }
  return '';
}
封装RichTextField
为了让TextField更好的使用自定义的样式,需要对它进行一些简单的封装。
=== 完整代码,请前往仓库中的rich_text_field.dart ===
@override
Widget build(BuildContext context) {
  return TextField(
    controller: controller,
    focusNode: focusNode,
    //用于自动获取焦点
    autofocus: true,
    //multiline为多行文本,常配合maxLines使用
    keyboardType: TextInputType.multiline,
    //将maxLines设置为null,从而取消对行数的限制
    maxLines: null,
    //光标颜色
    cursorColor: RichTextColor.defaultTextColor,
    textAlign: textAlign,
    decoration: InputDecoration(
      border: InputBorder.none,
      //当为list type时,加入占位符
      prefixText: prefix(inputType),
      prefixStyle: richTextStyle(inputType),
      //减少垂直高度减少,设为密集模式
      isDense: true,
      contentPadding: richTextPadding(inputType),
    ),
    style: richTextStyle(inputType, textColor: textColor),
  );
}
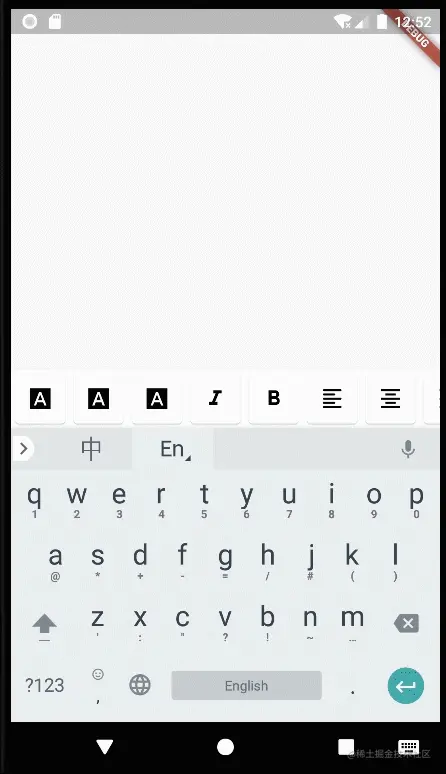
自定义Toolbar工具栏
这里使用PreferredSize组件,在自定义AppBar的同时,不对其子控件施加任何约束,不影响子控件的布局。
效果图:

  @override
  Widget build(BuildContext context) {
    return PreferredSize(
        //直接设置AppBar的高度
        preferredSize: const Size.fromHeight(56.0),
        child: Material(
            //绘制适当的阴影
            elevation: 4.0,
            color: widget.color,
            //SingleChildScrollView包裹Row,使其能横向滚动
            child: SingleChildScrollView(
              scrollDirection: Axis.horizontal,
              child: Row(
                children: [
                  //功能按钮
                  Card(
                    //是否选中了该功能
                    color: widget.inputType.contains(RichTextInputType.header1)
                        ? widget.colorSelected
                        : null,
                    child: IconButton(
                      icon: const Icon(Icons.font_download_sharp),
                      color:
                          widget.inputType.contains(RichTextInputType.header1)
                              ? Colors.white
                              : Colors.black,
                      onPressed: () {
                        //选中或取消该功能
                        widget.onInputTypeChange(RichTextInputType.header1);
                        setState(() {});
                      },
                    ),
                  ),
                  ...
                ],
              ),
            )));
  }
全局控制管理
分析需要实现的功能后,我们需要将每一块样式分为一个输入块 (block) 。因此,我们需要存储三个列表,用来管理:
List<FocusNode> _nodes = []存放每个输入块的焦点List<TextEditingController> _controllers = []存放每个输入块的控制器List<List<RichTextInputType>> _types = []存放每个输入块的样式
再进一步分析后,我们还需要这些模块:
- 返回当前焦点所在输入块的索引
- 插入新的输入块
- 修改输入块的样式
class RichTextEditorProvider extends ChangeNotifier {
//默认样式
List<RichTextInputType> inputType = [RichTextInputType.normal];
...
//存放每个输入框的焦点
final List<FocusNode> _nodes = [];
int get focus => _nodes.indexWhere((node) => node.hasFocus);
//返回当前焦点索引
FocusNode nodeAt(int index) => _nodes.elementAt(index);
...
//改变输入块样式
void setType(RichTextInputType type) {
//判断改变的type是不是三种标题中的一种
if (type == RichTextInputType.header1 ||
type == RichTextInputType.header2 ||
type == RichTextInputType.header3) {
//三种标题只能同时存在一个,isAdd用来判断是删除标题样式,还是修改标题样式
bool isAdd = true;
//暂存需要删除的样式
RichTextInputType? begin;
for (RichTextInputType i in inputType) {
if ((i == RichTextInputType.header1 ||
i == RichTextInputType.header2 ||
i == RichTextInputType.header3)) {
begin = i;
if (i == type) {
//如果用户点击改变的样式,已经存在了,证明需要删除这个样式。
isAdd = false;
}
}
}
//删除或修改样式
if (isAdd) {
inputType.remove(begin);
inputType.add(type);
} else {
inputType.remove(type);
}
}
...
else {
//如果不是以上type,则直接添加
inputType.add(type);
}
//修改输入块属性
_types.removeAt(focus);
_types.insert(focus, inputType);
notifyListeners();
}
//在用户将焦点更改为另一个输入文本块时,更新键盘工具栏和insert()
void setFocus(List<RichTextInputType> type) {
inputType = type;
notifyListeners();
}
//插入
void insert({
int? index,
String? text,
required List<RichTextInputType> type,
}) {
// \u200b是Unicode中的零宽度字符,可以理解为不可见字符,给文本前加上它,目的是为了检测删除事件。
final TextEditingController controller = TextEditingController(
text: '\u200B${text ?? ''}',
);
controller.addListener(() {
//如果用户随后按下退格键并删除起始字符,即\u200B
//就会检测到删除事件,删除焦点文本输入块,同时将焦点移动到上面的文本输入块。
if (!controller.text.startsWith('\u200B')) {
final int index = _controllers.indexOf(controller);
if (index > 0) {
//通过该语句可以轻松地将两个单独的块合并为一个
controllerAt(index - 1).text += controller.text;
//文本选择
controllerAt(index - 1).selection = TextSelection.fromPosition(
TextPosition(
offset: controllerAt(index - 1).text.length - controller.text.length,
),
);
//获取光标
nodeAt(index - 1).requestFocus();
//删除文本输入块
_controllers.removeAt(index);
_nodes.removeAt(index);
_types.removeAt(index);
notifyListeners();
}
}
//处理删除事件。因为我们在封装TextField时,使用了keyboardType: TextInputType.multiline的键盘类型
//当用户按下回车键后,我们需要检测是否包含Unicode 的\n字符,如果包含了,我们需要创建新的文本编辑块。
if (controller.text.contains('\n')) {
final int index = _controllers.indexOf(controller);
List<String> split = controller.text.split('\n');
controller.text = split.first;
insert(
index: index + 1,
text: split.last,
type: typeAt(index).contains(RichTextInputType.list)
? [RichTextInputType.list]
: [RichTextInputType.normal]);
controllerAt(index + 1).selection = TextSelection.fromPosition(
const TextPosition(offset: 1),
);
nodeAt(index + 1).requestFocus();
notifyListeners();
}
});
//创建新的文本输入块
_controllers.insert(index!, controller);
_types.insert(index, type);
_nodes.insert(index, FocusNode());
}
}
布局
常用Stack,将工具栏Appbar固定在页面底部。前面我们定义了ChangeNotifier,现在需要使用ChangeNotifierProvider。
@override
  Widget build(BuildContext context) {
    return ChangeNotifierProvider<RichTextEditorProvider>(
      create: (_) => RichTextEditorProvider(),
      builder: (BuildContext context, Widget? child) {
        return Stack(children: [
          Positioned(
            top: 16,
            left: 0,
            right: 0,
            bottom: 56,
            child: Consumer<RichTextEditorProvider>(
              builder: (_, RichTextEditorProvider value, __) {
                return ListView.builder(
                  itemCount: value.length,
                  itemBuilder: (_, int index) {
                    //分配焦点给它本身及其子Widget
                    //同时内部管理着一个FocusNode,监听焦点的变化,来保持焦点层次结构与Widget层次结构同步。
                    return Focus(
                      onFocusChange: (bool hasFocus) {
                        if (hasFocus) {
                          value.setFocus(value.typeAt(index));
                        }
                      },
                      //文本输入块
                      child: RichTextField(
                        inputType: value.typeAt(index),
                        controller: value.controllerAt(index),
                        focusNode: value.nodeAt(index),
                      ),
                    );
                  },
                );
              },
            ),
          ),
          //固定在页面底部
          Positioned(
            bottom: 0,
            left: 0,
            right: 0,
            child: Selector<RichTextEditorProvider, List<RichTextInputType>>(
              selector: (_, RichTextEditorProvider value) => value.inputType,
              builder:
                  (BuildContext context, List<RichTextInputType> value, _) {
                //工具栏
                return RichTextToolbar(
                  inputType: value,
                  onInputTypeChange: Provider.of<RichTextEditorProvider>(
                    context,
                    listen: false,
                  ).setType,
                );
              },
            ),
          )
        ]);
      },
    );
  }
分析总结
通过上面的步骤,我们就能实现效果图中的功能了。但是,这样实现后,会出现几个对于富文本来说致命的问题:
- 由于
TextField对富文本支持不完善,在对文本添加颜色、文本段落中添加图片时,有较大的困难。 - 无法选中
ListView中未渲染的TextField
在遇到这些问题后,我想到了RichText。它除了可以支持TextSpan,还可以支持WidgetSpan,这样在对文本添加颜色,或者在文本中插入图片这样放入Widget的功能时就比较灵活了。对于文本选择问题,通过渲染多个TextField不是个好方案。
正确案例
为了解决分析出的问题,第一点就是,我们不能再渲染多个TextField,虽然也能通过同时控制多个controller来解决部分问题,但是实现成本较高,实现后也会有很多缺陷。所以实现方案要从渲染多个输入块转为一个输入块,渲染多个TextSpan。方案有了,那么让我们开始实现吧!
实现buildTextSpan方法来将文本转化为TextSpan
在之前的基础文本知识篇中,我们知道RichText的text属性接收一个InlineSpan类型的对象(TextSpan和WidgetSpan是InlineSpan的子类),而InlineSpan又有一个叫做children的List属性,接收InlineSpan类型的数组。
class TextSpan extends InlineSpan{}
class WidgetSpan extends PlaceholderSpan{}
abstract class PlaceholderSpan extends InlineSpan {}
构建TextSpan
///构建TextSpan
@override
TextSpan buildTextSpan({
required BuildContext context,
TextStyle? style,
required bool withComposing,
}) {
assert(!value.composing.isValid ||
!withComposing ||
value.isComposingRangeValid);
//保留TextRanges到InlineSpan的映射以替换它。
final Map<TextRange, InlineSpan> rangeSpanMapping =
<TextRange, InlineSpan>{};
// 迭代TextEditingInlineSpanReplacement,将它们映射到生成的InlineSpan。
if (replacements != null) {
for (final TextEditingInlineSpanReplacement replacement
in replacements!) {
_addToMappingWithOverlaps(
replacement.generator,
TextRange(start: replacement.range.start, end: replacement.range.end),
rangeSpanMapping,
value.text,
);
}
}
...
// 根据索引进行排序
final List<TextRange> sortedRanges = rangeSpanMapping.keys.toList();
sortedRanges.sort((a, b) => a.start.compareTo(b.start));
// 为未替换的文本范围创建TextSpan并插入替换的span
final List<InlineSpan> spans = <InlineSpan>[];
int previousEndIndex = 0;
for (final TextRange range in sortedRanges) {
if (range.start > previousEndIndex) {
spans.add(TextSpan(
text: value.text.substring(previousEndIndex, range.start)));
}
spans.add(rangeSpanMapping[range]!);
previousEndIndex = range.end;
}
// 后面添加的文字使用默认的TextSpan
if (previousEndIndex < value.text.length) {
spans.add(TextSpan(
text: value.text.substring(previousEndIndex, value.text.length)));
}
return TextSpan(
style: style,
children: spans,
);
}
文本输入块的基础实现
为了更好的实现文本输入块,TextField是不能够满足我们的。现在让我们开始实现自己的文本输入块。分析TextEditingController我们可以知道,TextField的最后执行相关逻辑的Widget是_Editable,那么我们就要先从它入手。
return CompositedTransformTarget(
  link: _toolbarLayerLink,
  child: Semantics(
    onCopy: _semanticsOnCopy(controls),
    onCut: _semanticsOnCut(controls),
    onPaste: _semanticsOnPaste(controls),
    child: _ScribbleFocusable(
      focusNode: widget.focusNode,
      editableKey: _editableKey,
      enabled: widget.scribbleEnabled,
      updateSelectionRects: () {
        _openInputConnection();
        _updateSelectionRects(force: true);
      },
      child: _Editable(
        key: _editableKey,
        ...
      ),
    ),
  ),
);
因为InlineSpan有一个叫做children的List属性,用于接收InlineSpan类型的数组。我们需要通过遍历InlineSpan,在WidgetSpan中创建子部件。
class _Editable extends MultiChildRenderObjectWidget {
    ...
static List<Widget> _extractChildren(InlineSpan span) {
  final List<Widget> result = <Widget>[];
  //通过visitChildren来实现对子节点的遍历
  span.visitChildren((span) {
    if (span is WidgetSpan) {
      result.add(span.child);
    }
    return true;
  });
  return result;
 }
...
}
定义了_Editable后,我们需要构建基本的文本输入块。
Flutter 3.0以后,加入了DeltaTextInputClient,用于细分新旧状态之间的变化量。
class BasicTextInput extends State<BasicTextInputState>
    with TextSelectionDelegate
    implements DeltaTextInputClient {}
让我们从用户行为来分析实现BasicTextInput,当用户编辑文字时,需要先点击屏幕,需要我们先获取到焦点后,用户才能进一步输入文字。
///获取焦点,键盘输入
bool get _hasFocus => widget.focusNode.hasFocus;
///在获得焦点时打开输入连接。焦点丢失时关闭输入连接。
void _openOrCloseInputConnectionIfNeeded() {
if (_hasFocus && widget.focusNode.consumeKeyboardToken()) {
_openInputConnection();
} else if (!_hasFocus) {
_closeInputConnectionIfNeeded();
widget.controller.clearComposing();
}
}
void requestKeyboard() {
if (_hasFocus) {
_openInputConnection();
} else {
widget.focusNode.requestFocus();
}
}
当用户编辑文本后,我们需要更新编辑文本的值。
///更新编辑的值,输入一个值就要经过该方法
@override
void updateEditingValueWithDeltas(List<TextEditingDelta> textEditingDeltas) {
TextEditingValue value = _value;
...
if (selectionChanged) {
manager.updateToggleButtonsStateOnSelectionChanged(value.selection,
widget.controller as ReplacementTextEditingController);
}
}
@override
void userUpdateTextEditingValue(
TextEditingValue value, SelectionChangedCause cause) {
if (value == _value) return;
final bool selectionChanged = _value.selection != value.selection;
if (cause == SelectionChangedCause.drag ||
cause == SelectionChangedCause.longPress ||
cause == SelectionChangedCause.tap) {
// 这里的变化来自于手势,它调用RenderEditable来改变用户选择的文本区域。
// 创建一个TextEditingDeltaNonTextUpdate后,我们可以获取Delta的历史RenderEditable
final bool textChanged = _value.text != value.text;
if (selectionChanged && !textChanged) {
final TextEditingDeltaNonTextUpdate selectionUpdate =
TextEditingDeltaNonTextUpdate(
oldText: value.text,
selection: value.selection,
composing: value.composing,
);
if (widget.controller is ReplacementTextEditingController) {
(widget.controller as ReplacementTextEditingController)
.syncReplacementRanges(selectionUpdate);
}
manager.updateTextEditingDeltaHistory([selectionUpdate]);
}
}
}
有了基础了编辑文字,那么如何复制粘贴文字呢?
//粘贴文字
@override
Future<void> pasteText(SelectionChangedCause cause) async {
...
// 粘贴文字后,光标的位置应该被定位于粘贴的内容后面
final int lastSelectionIndex = math.max(
pasteRange.baseOffset, pasteRange.baseOffset + data.text!.length);
_userUpdateTextEditingValueWithDelta(
TextEditingDeltaReplacement(
oldText: textEditingValue.text,
replacementText: data.text!,
replacedRange: pasteRange,
selection: TextSelection.collapsed(offset: lastSelectionIndex),
composing: TextRange.empty,
),
cause,
);
//如果用户操作来源于文本工具栏,那么则隐藏工具栏
if (cause == SelectionChangedCause.toolbar) hideToolbar();
}
隐藏文本工具栏
//隐藏工具栏
@override
void hideToolbar([bool hideHandles = true]) {
  if (hideHandles) {
    _selectionOverlay?.hide();
  } else if (_selectionOverlay?.toolbarIsVisible ?? false) {
    // 只隐藏工具栏
    _selectionOverlay?.hideToolbar();
  }
}
不过,当文本发生变化时,需要对文本编辑进行更新时,更新的值必须在文本选择的范围内。
void _updateOrDisposeOfSelectionOverlayIfNeeded() {
  if (_selectionOverlay != null) {
    if (_hasFocus) {
      _selectionOverlay!.update(_value);
    } else {
      _selectionOverlay!.dispose();
      _selectionOverlay = null;
    }
  }
}
构建_Editable,Shortcuts是通过按键或按键组合激活的键绑定。
@override
Widget build(BuildContext context) {
  return Shortcuts(
    shortcuts: kIsWeb ? _defaultWebShortcuts : <ShortcutActivator, Intent>{},
    child: Actions(
      actions: _actions,
      child: Focus(
        focusNode: widget.focusNode,
        child: Scrollable(
          viewportBuilder: (context, position) {
            return CompositedTransformTarget(
              link: _toolbarLayerLink,
              child: _Editable(
                key: _textKey,
                ...
              ),
            );
          },
        ),
      ),
    ),
  );
}
分析到这里,我们就把自定义的富文本文本输入块实现了。当然,目前还要许多需要扩展和优化的地方,大家有兴趣可以持续关注代码仓库~
尾述
在这篇文章中,我们从0到1实现了基本的富文本编辑器,通过失败的简单案例,在分析吸取经验后实现扩展好的富文本编辑器。在下一篇文章中,会实现更多对富文本编辑器的扩展。希望这篇文章能对你有所帮助,有问题欢迎在评论区留言讨论~
参考
Flutter 快速解析 TextField 的内部原理 — @恋猫de小郭
最后
如果想要成为架构师或想突破20~30K薪资范畴,那就不要局限在编码,业务,要会选型、扩展,提升编程思维。此外,良好的职业规划也很重要,学习的习惯很重要,但是最重要的还是要能持之以恒,任何不能坚持落实的计划都是空谈。
如果你没有方向,这里给大家分享一套由阿里高级架构师编写的《Android八大模块进阶笔记》,帮大家将杂乱、零散、碎片化的知识进行体系化的整理,让大家系统而高效地掌握Android开发的各个知识点。
相对于我们平时看的碎片化内容,这份笔记的知识点更系统化,更容易理解和记忆,是严格按照知识体系编排的。
全套视频资料:
一、面试合集

二、源码解析合集
三、开源框架合集
欢迎大家一键三连支持,若需要文中资料,直接点击文末CSDN官方认证微信卡片免费领取↓↓↓

智能推荐
在Spark上使用JDBC连接Trino_emr trino端口号-程序员宅基地
文章浏览阅读1.9k次。这是一个非常不典型的Spark + Trino的使用场景,本文仅记录测试步骤和结果,不做评论。测试在Spark上使用JDBC读写Trino的可行性。创建EMR集群,选择Hive、Trino并以Glue Data Catalog作为Metastor;在Hive中创建数据表并插入测试数据;将Trino JDBC Driver包加入Spark类路径并同时启动spark-shell;在Spark中通过JDBC连接Trino并读取数据_emr trino端口号
系统架构师学习笔记-系统安全性和保密性_系统工作站的保密性-程序员宅基地
文章浏览阅读6.1k次,点赞9次,收藏23次。目录 信息系统安全体系数据安全与保密 信息系统安全体系信息安全有5个基本要素:1. 机密性:确保信息不暴露给未授权的实体或进程。2. 完整性:只有得到允许的人才能够修改数据,并能够判别数据是否已被篡改。3. 可用性:得到授权的实体在需要时可访问数据。4. 可控性:可以控制授权范围内的信息流向和行为方式。5. 可审查性:对出现的安全问题提供调查的依据..._系统工作站的保密性
java计算机毕业设计旅游管理系统MyBatis+系统+LW文档+源码+调试部署-程序员宅基地
文章浏览阅读135次。java计算机毕业设计旅游管理系统MyBatis+系统+LW文档+源码+调试部署。springboot基于springboot的音乐网站管理系统。springboot基于Java的图书借阅管理系统设计与实现。springboot基于springBoot仓库管理系统。jsp基于Web的鲜花采购及预定系统的设计与实现ssh。ssm基于Java智能选课系统的设计与实现。
vue展示日历 考勤展示_O2OA办公平台内置应用介绍篇:考勤管理-程序员宅基地
文章浏览阅读905次。考勤管理点击组件-考勤管理,即可打开考勤管理系统。我的考勤月报打开考勤管理系统后,会展示我的考勤月报,您可以查看当月的考勤,如下图:考勤日历:以日历的形式展现当月的考勤结果,并以不同的颜色表示出勤状态。考勤汇总:用饼图展现考勤状态(出勤、请假、迟到、缺勤、申诉、工时不足)在本月所占的比例。上下班走势图:提供上班时间和下班时间的走势信息数据,用折线图展现上下班时间的趋势。右边可以查看排班时间表。我的..._vue考勤报表显示上下班
谈一谈自己对BFC的理解-程序员宅基地
文章浏览阅读272次。一、BFC概念BFC全名为块级格式化上下文,它是一个独立的渲染区域,其内部的盒子如何布局只遵循块级格式化上下文的规则,不受外部元素的干扰二、如何定义BFC当前元素的float属性不为none 当前元素的position属性不为static和relative 当前元素的overflow属性不为visible 当前元素的display属性是inline-block、table-cell、flex、table-caption和inline-flex三、BFC的布局规则每个盒子都占一行,在垂
Ubuntu 12.04 the system is running in low-graphics mode_the system is running in low-graphice mod-程序员宅基地
文章浏览阅读3.1w次。UbuntuCommunityAsk!DeveloperDesignHardwareShopMore ›Stack Exchangesign up log in Ask UbuntuQuestionsTagsTourUsers_the system is running in low-graphice mod
随便推点
回溯法解01背包问题(最通俗易懂,附C++代码)_回溯法解决01背包问题-程序员宅基地
文章浏览阅读3.6w次,点赞86次,收藏554次。问题描述:01背包问题是算法中的经典问题,问题描述如下:对于给定的N个物品,第i个物品的重量为Wi,价值为Vi,对于一个最多能装重量C的背包,应该如何选择放入包中的物品,使得包中物品的总价值最大?回溯法简介:回溯法的本质其实就是一种蛮力法,只是通过一定的方法可以使得蛮力法中的一些基本情况可以提前排除从而提高蛮力算法效率,回溯可以理解为排除这些不满足条件的基本情况的过程。回溯法求解0-1背包问题的过程:由于直接描述过程比较抽象,因此直接上例题例题:假设N=3(有三件物品),三个物品的重量为{20_回溯法解决01背包问题
Apache孵化器主席Justin Mclean:如何成为Apache顶级开源项目_apache基金会项目申请-程序员宅基地
文章浏览阅读761次。摘要: 近日,Apache孵化器主席、Apache基金会成员、Dubbo & RocketMQ等开源项目的导师Justin Mclean来到阿里巴巴西溪园区,与众多开发者分享了如何打造一个Apache顶级项目,以及项目孵化过程会遇到的一些盲点和挑战。近日,Apache孵化器主席、Apache基金会成员、Dubbo & RocketMQ等开源项目的导师Justin Mclean来..._apache基金会项目申请
遇到BASE64的图片字符串应该如何转换成图片呢_go语言把base64转换成图片格式-程序员宅基地
文章浏览阅读1.3k次。遇到BASE64的图片字符串应该如何转换成图片呢base64.b64decode(data)_go语言把base64转换成图片格式
(转)基于MVC4+EasyUI的Web开发框架经验总结(10)--在Web界面上实现数据的导入和导出...-程序员宅基地
文章浏览阅读166次。http://www.cnblogs.com/wuhuacong/p/3873498.html数据的导入导出,在很多系统里面都比较常见,这个导入导出的操作,在Winform里面比较容易实现,我曾经在之前的一篇文章《Winform开发框架之通用数据导入导出操作》介绍了在Winform里面的通用导入导出模块的设计和开发过程,但在Web上我们应该如何实现呢?本文主要介绍利用MVC4+Eas...
14.JS语句和注释,变量和数据类型-程序员宅基地
文章浏览阅读112次。1.JavaScript 语句(1)语句的作用(2)语句标识符2.代码和代码块儿(1)代码(2)代码块3.分号、空格和拆行(1)分号(2)空格(3)拆行4.单行注释和多行注释5.JS变量6.创建变量7.JS 数据类型(1)值类型(基本类型):(2)引用数据类型(对象类型):(3)动态类型8.字符串、数字、布尔、数组和对象等(1)字符串(2)数字(3)布尔(4)数组(5)对象...
C语言ASCLL码_c语言 \ ascll-程序员宅基地
文章浏览阅读2.1k次。C语言ASCLL码表介绍_c语言 \ ascll